Overview
Our task for the Big IDEA redesign project was to individually create designs for a
tree caliper that could be attached and removed from a meter stick.
tree caliper that could be attached and removed from a meter stick.
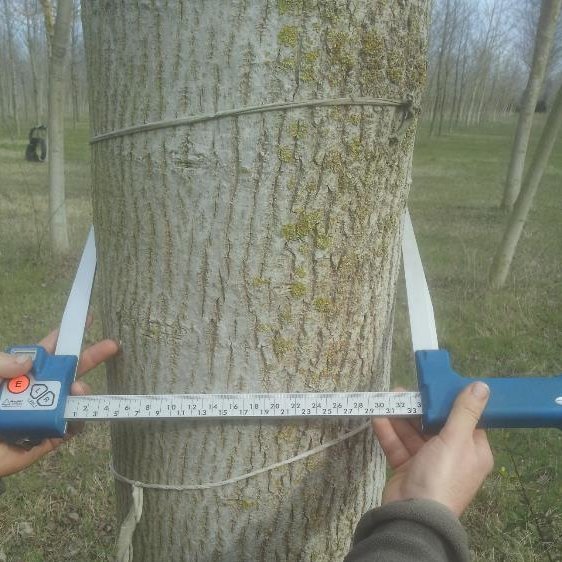
A tree caliper is a device that is used to measure the diameter of a tree. Mr. Schuca has requested the our Big IDEA class design a practical and removable tree caliper that can be used with meter sticks for his classes.
Presearch and Sketches
| scanned_documents__1_.pdf |
While my sketches claim that I will use brackets to hold my jaws in place, I eventually strayed away from this idea as it was too hard to measure and print to level of precision necessary to use brackets. I instead chose to just design and manufacture two parts; one stationary, and one mobile.
First Steps
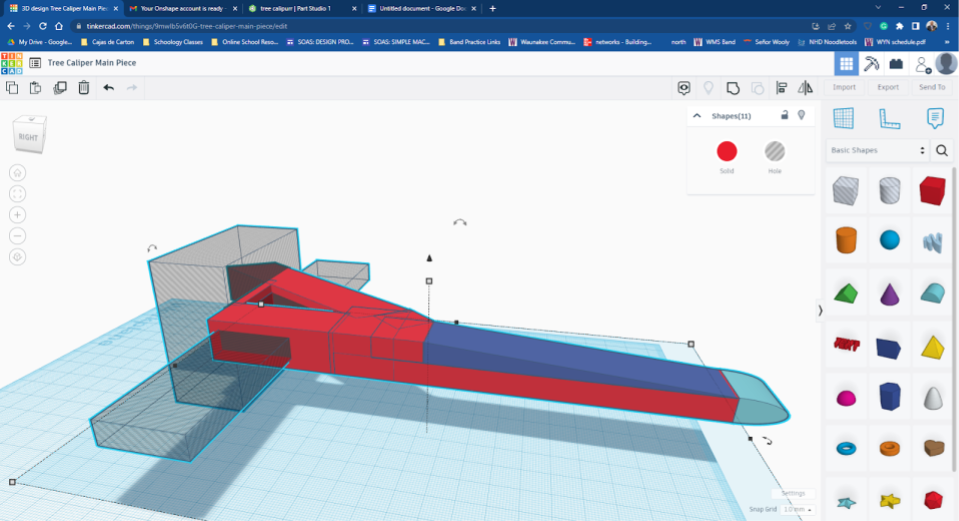
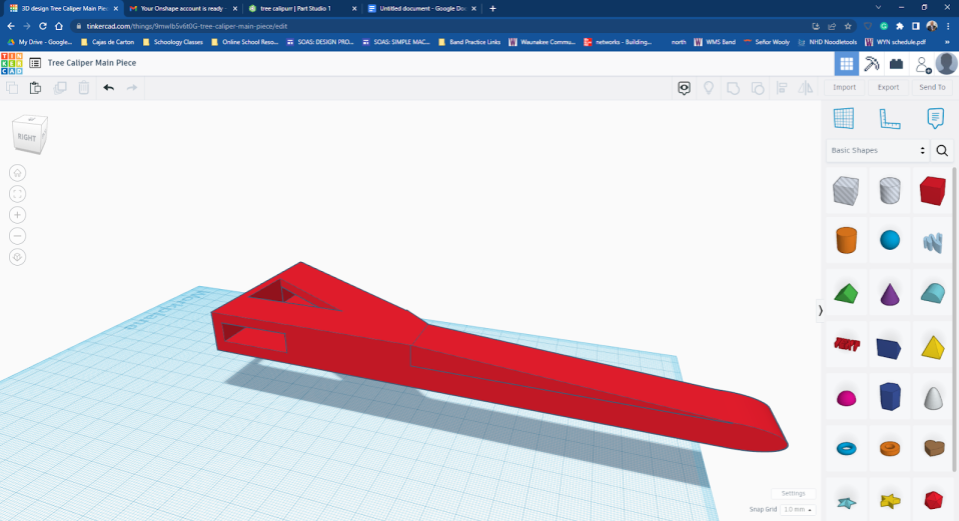
I started in Tinkercad. I understand that at this point I should not be using it, but because of the bumps COVID provided, it's what I felt most comfortable using. My basic design was made from a few simple shapes stitched together. My full plan was to create two separate parts. The first, pictured above, was meant to stay stationary and the second, a skinnier piece, was meant to move. I decided to start with my first part and before working on the second to iron out any problems I might experience the first time around.
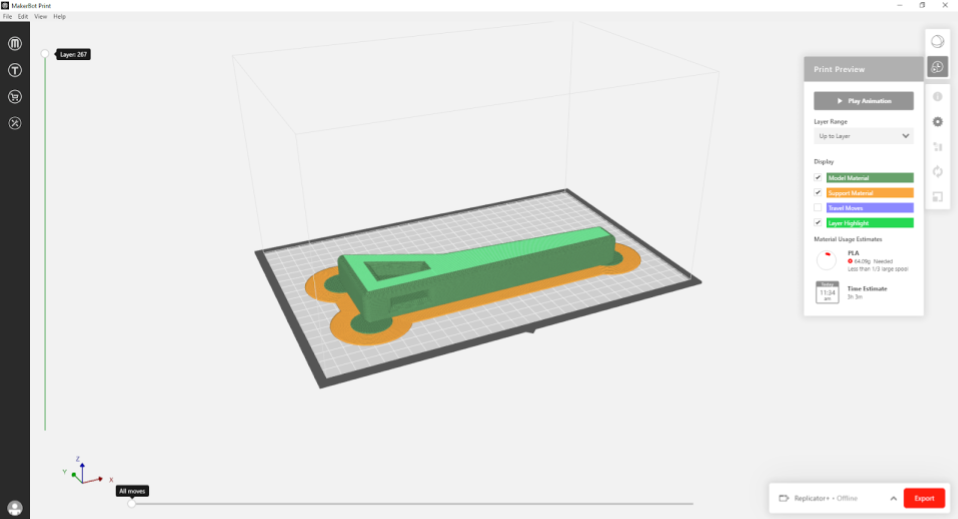
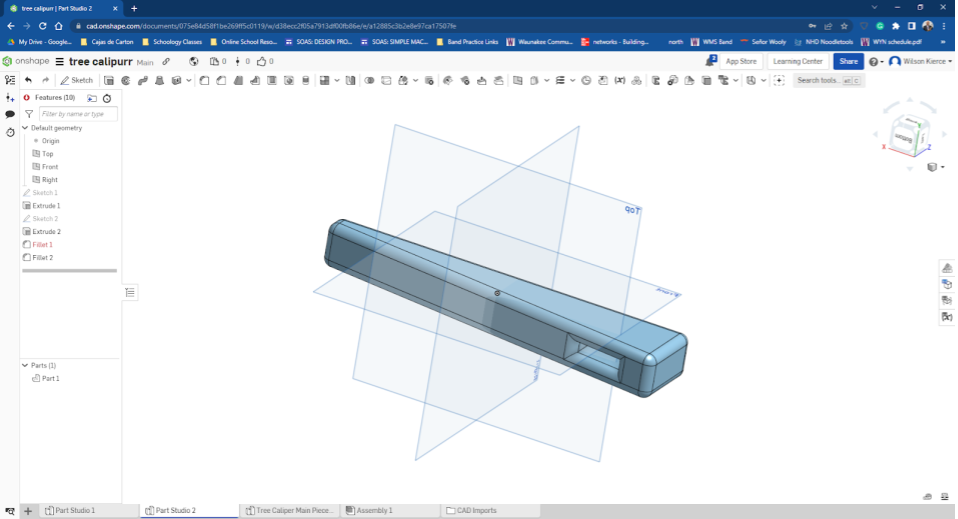
Onshape
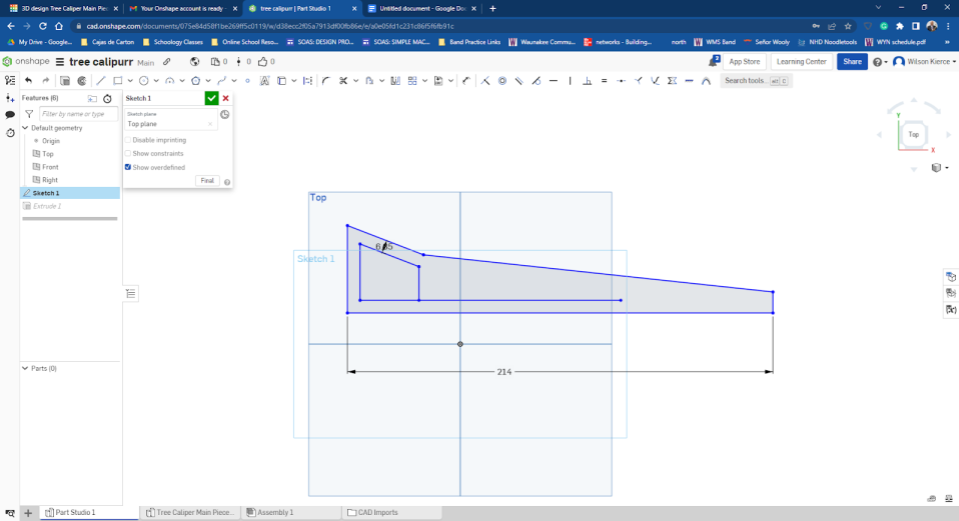
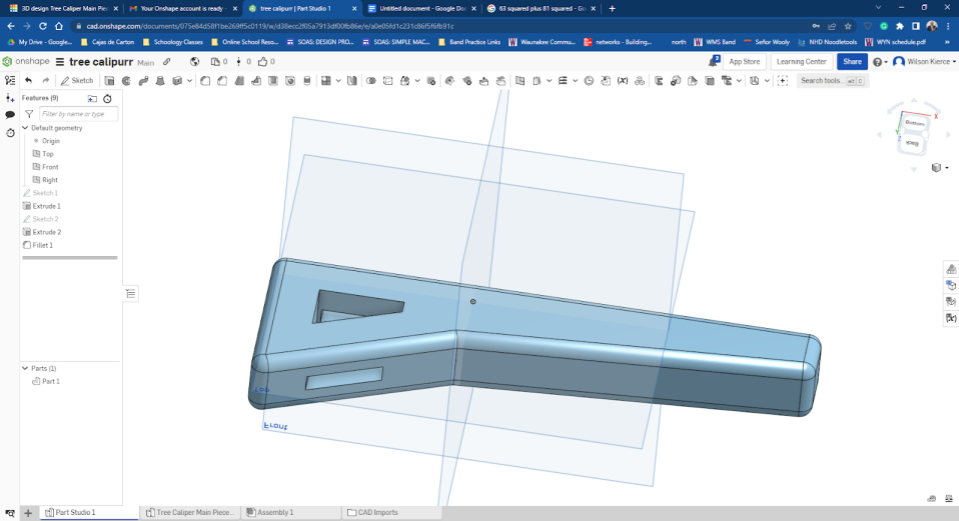
With help from my classmate Sam Anderson, I began to become comfortable with Onshape. Using Onshape gave me more freedom with my project. It operates very similar to Inventor. Within minutes, my part was already looking more professional.
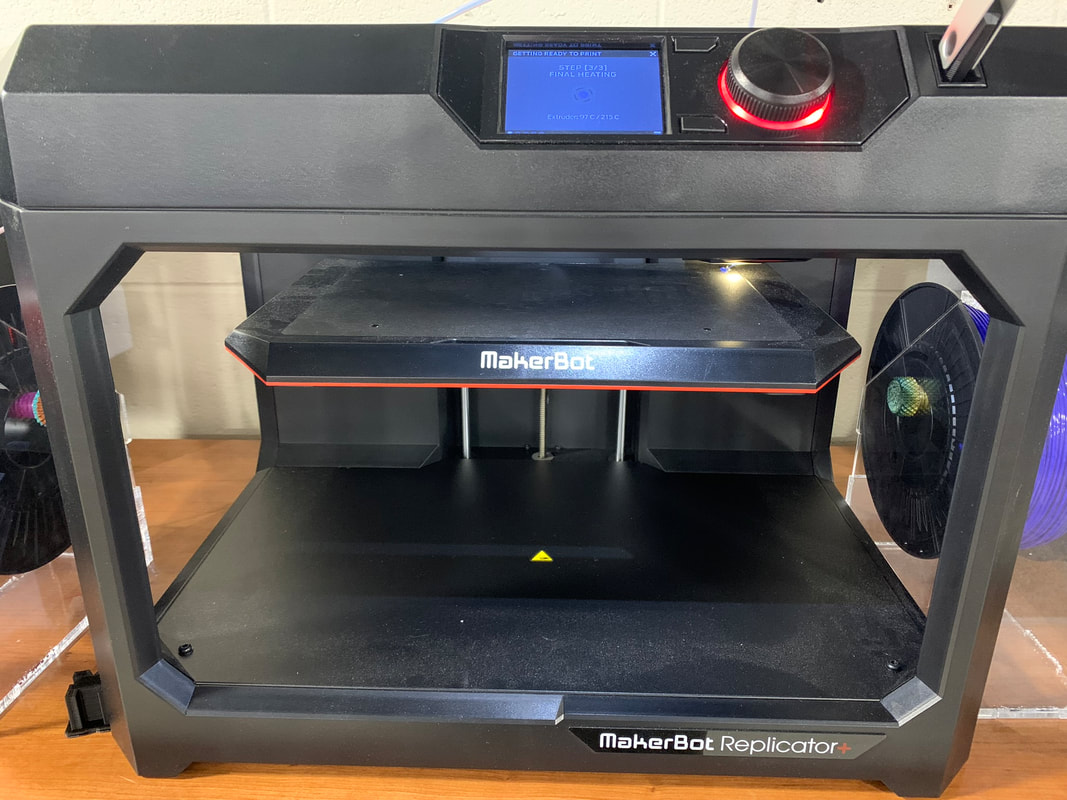
Print Attempt #1
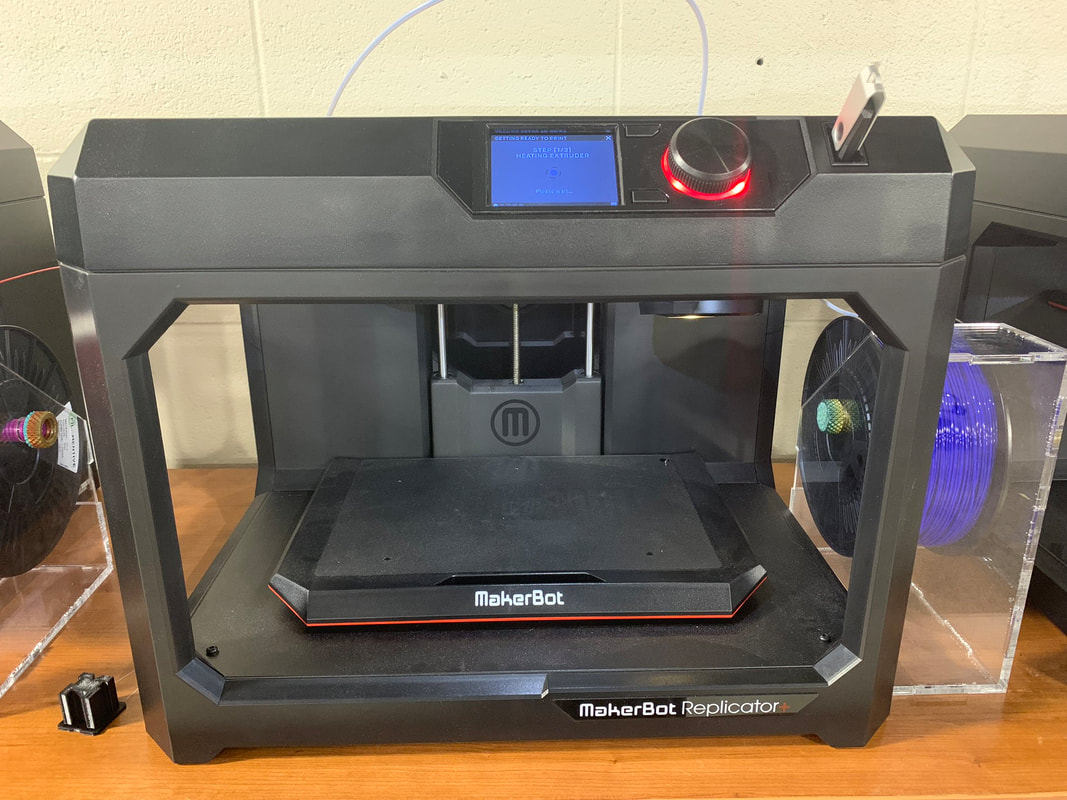
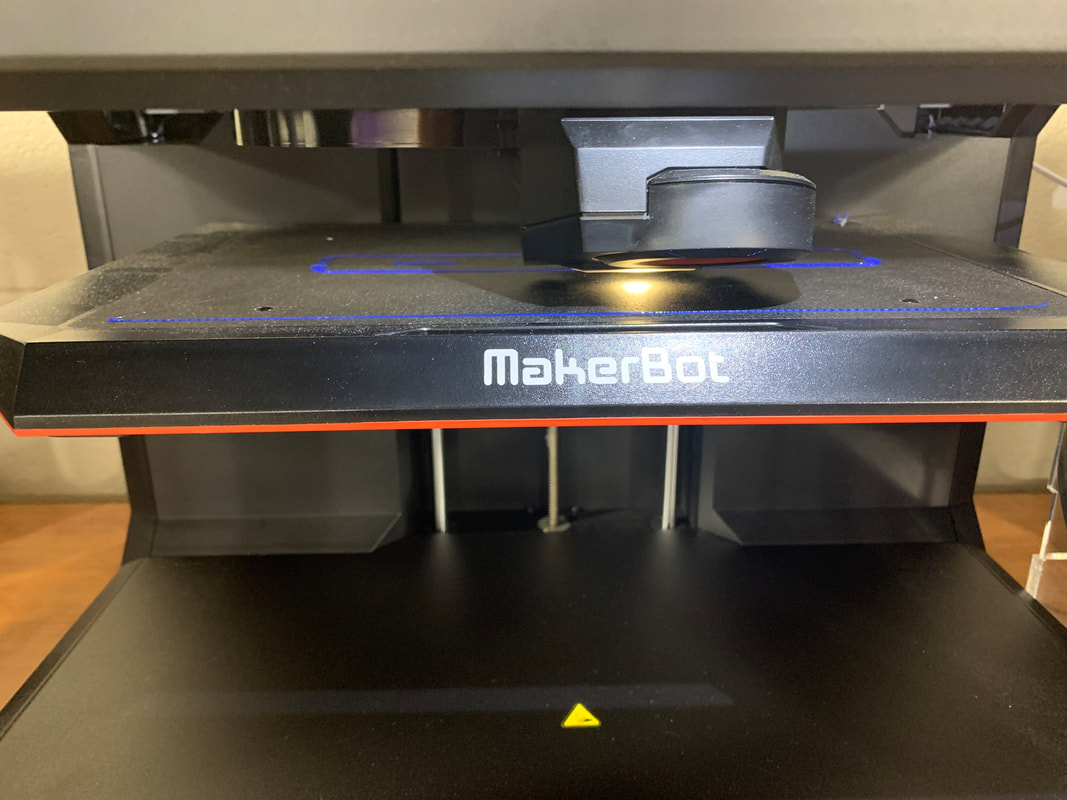
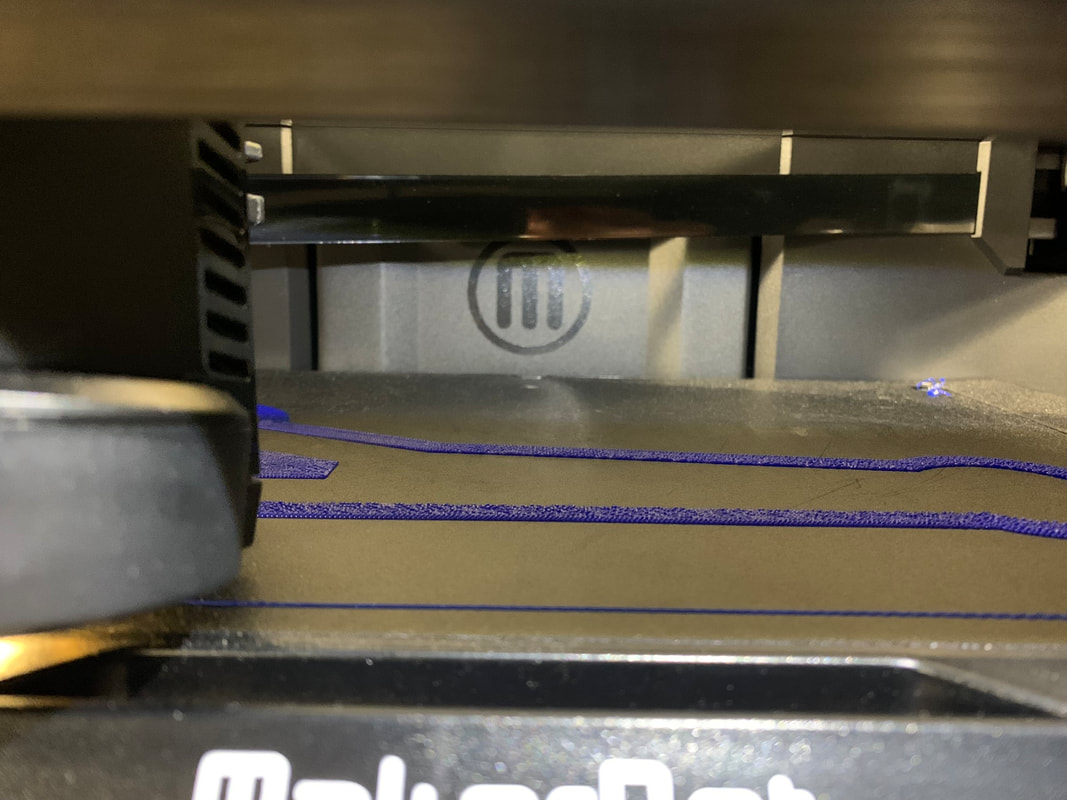
I was feeling good about my design, but wasn't incredibly comfortable with the printers. My first print used mainly the factory settings. Within 20 minutes, the print was misaligned and failed. Luckily I caught it quickly so I was able to start a new print with updated settings.
Print Attempt #2
I thought I had my settings right, but clearly, the weren't. Again, within the first 20 minutes of printing my part got misaligned and I had to start over again. Unfortunately, I was out of class time and had to wait for next class to print again.
Print Attempt #3
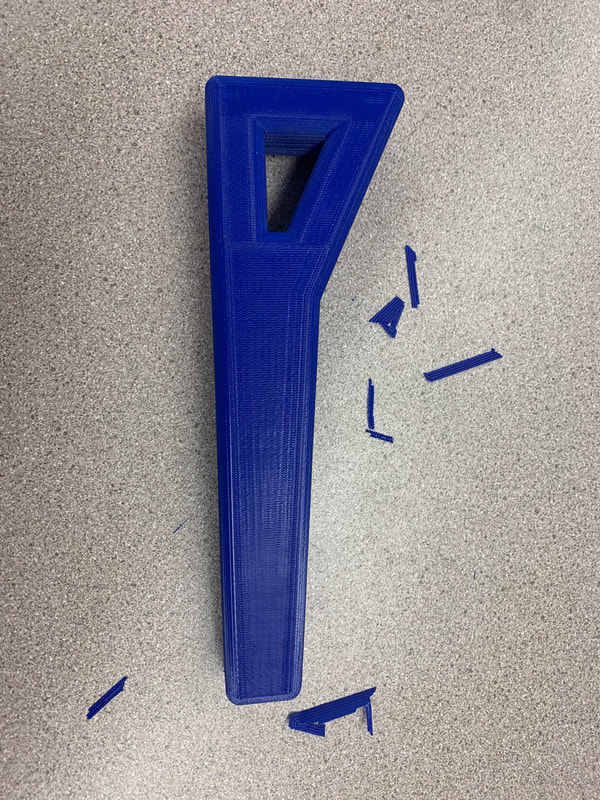
Finally, my print was successful. Mr. Willauer helped me tape down the edges of my brims so that the print would stay on the print bed. However, I now had a different problem. The hole I extruded that was meant for the meter stick was too small. Therefore, I had to print this piece once more, a long with my second and final piece.
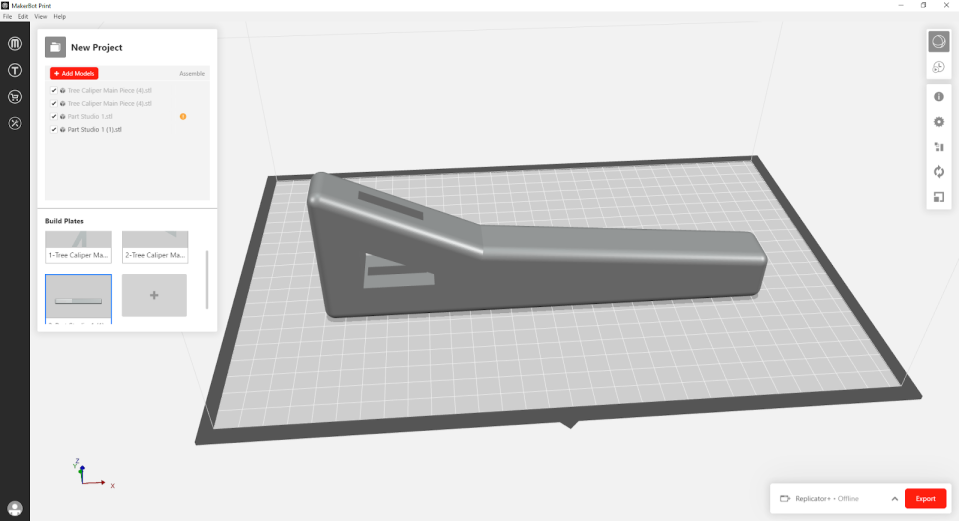
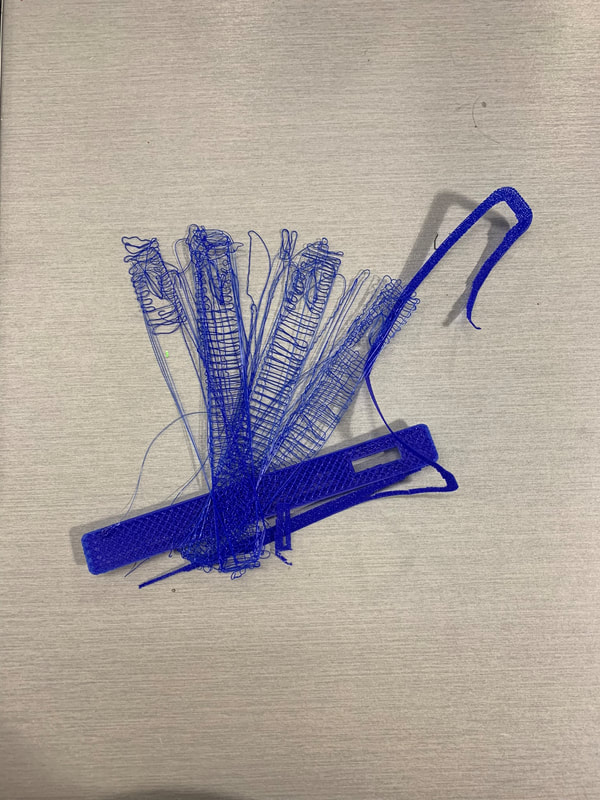
Designing Piece #2 and re-printing Piece #1
My second piece uses the same dimensions as my first piece, just with a smaller width. For both pieces I made the extruded section larger to fit the meter stick.
|
|
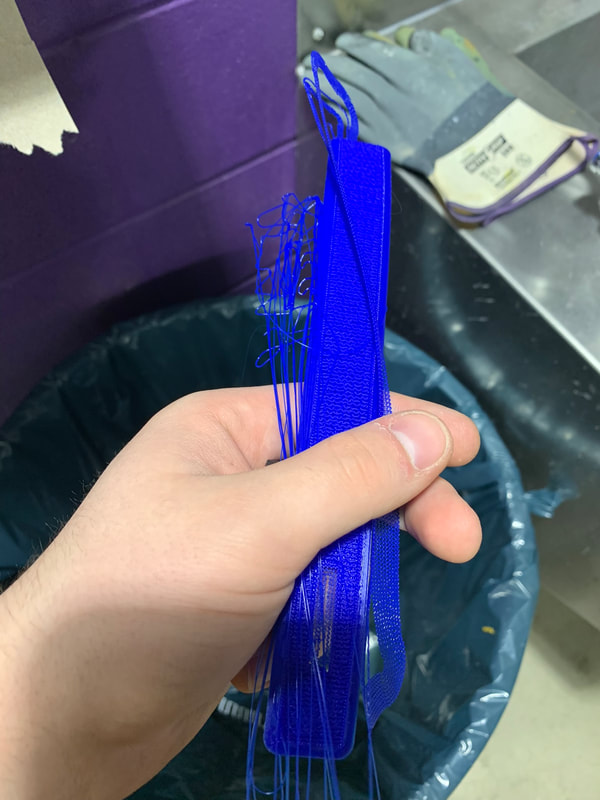
Because Big IDEA was allotted only 4 printers (and the Z18), I teamed up with Drew Regnier as we decided to print our calipers together. This made it possible to get our projects done by the due date. In the end, I was pleased with my project. I was able to overcome 2 failed prints and 1 failed design all in a short time frame. My end product could definitely use improvement, however. The caliper jaws are a bit wobbly, which could lead to some incorrect data when used. Although, I am still proud of what I accomplished and feel that this project helped me to brush up on my design tools necessary for my final project.
|
